How to compare progress photos fairly
A comparison is only as good as the two photos in it. Here’s how to check that yours are fair, and what to look at once they are.
Short answer
Compare the same pose at least four weeks apart, check that light, distance and clothing match, then look at your outline (waist, hips, the gap between arms and torso), posture and shoulder line, and confirm it with your waist measurement from the same days.
Is this a fair pair?
- Same pose and side?
- Head and feet in the same place in the frame? If one photo looks zoomed in, it was taken closer.
- Same light direction? Shadows on your belly or abs give it away.
- Same clothing and time of day?
If not, pick another pair. In ProgressLens, photos taken with the ghost overlay usually pass all four.
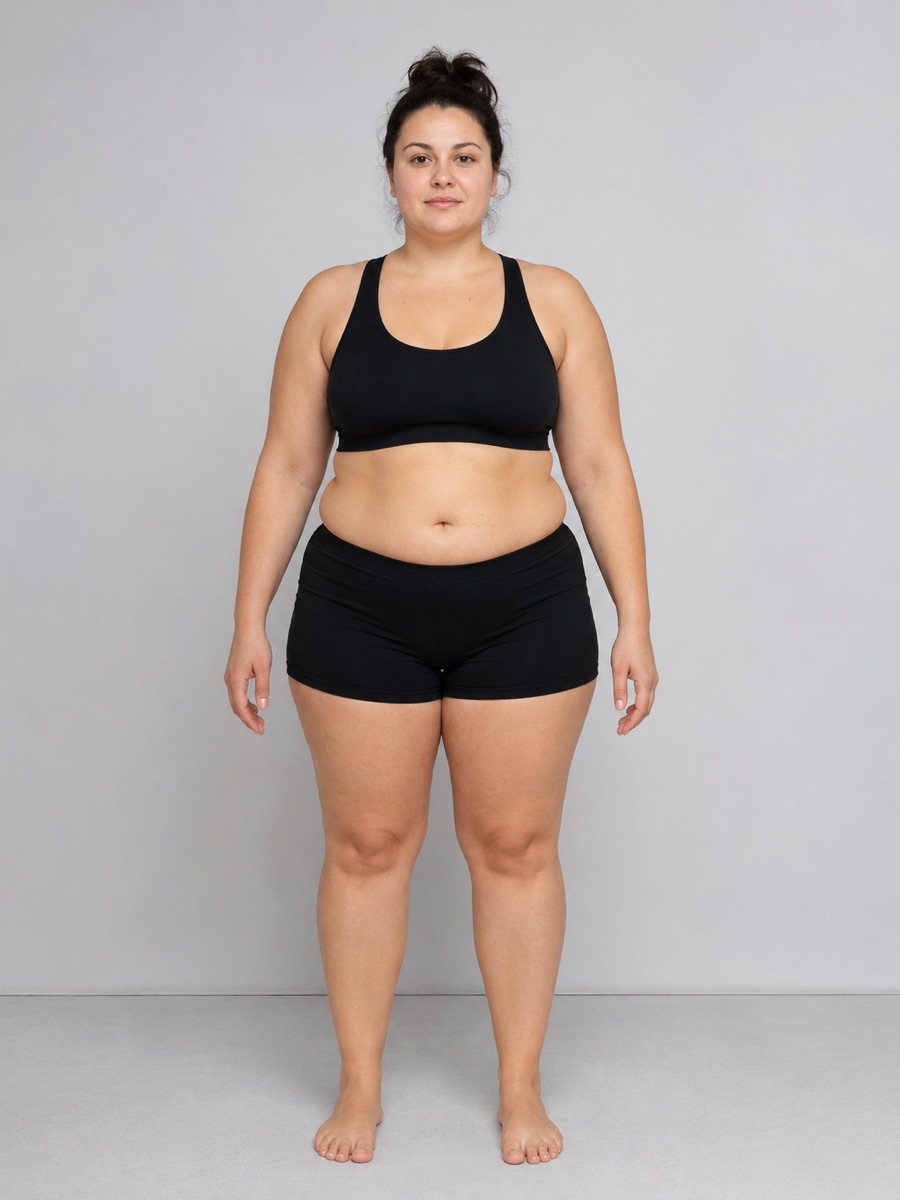
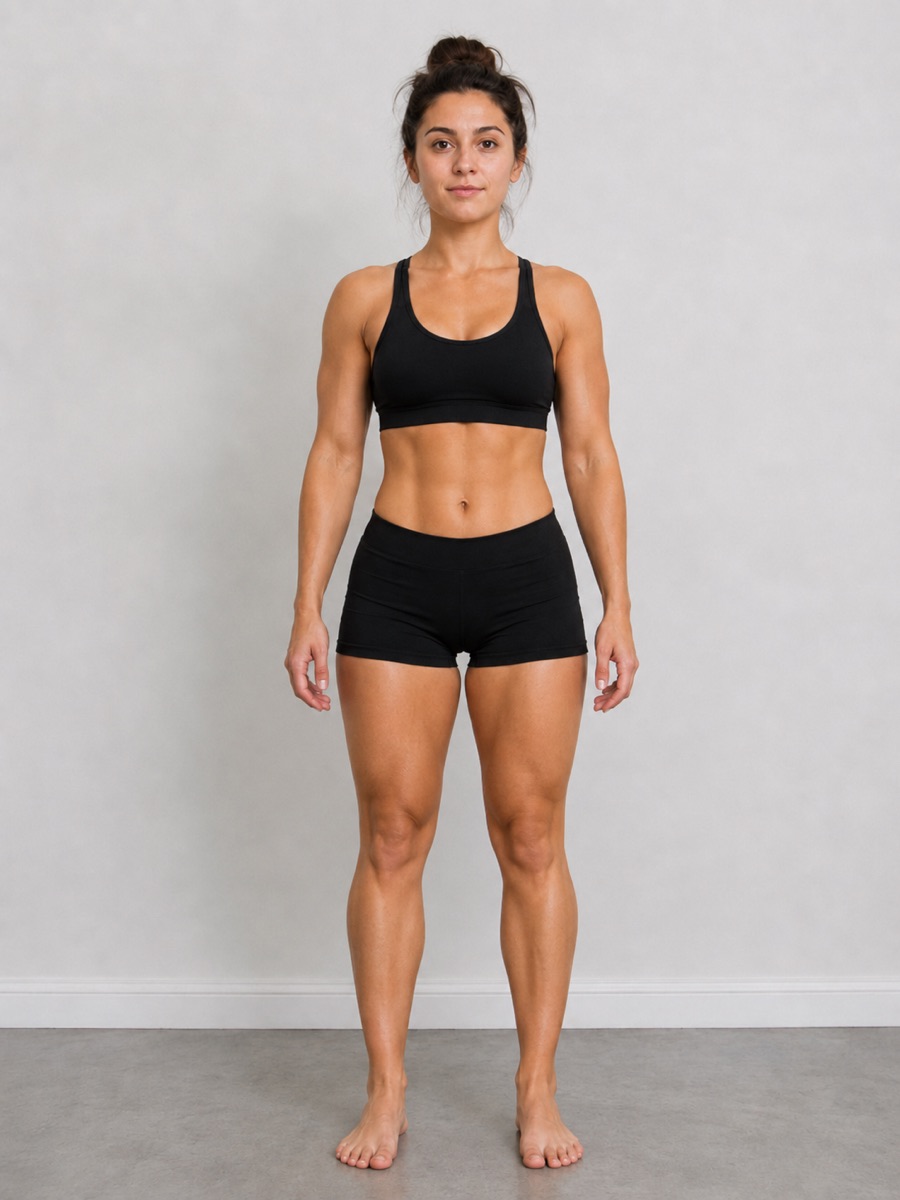
A fair comparison: same pose, angle and light. Illustrative example photos.
What to look at
- Waist and hips: the width of your silhouette at the narrowest and widest points.
- Arm gap: the space between your arms and torso grows as your waist shrinks.
- Side profile: belly and lower back.
- Shoulders and back: width relative to your waist for muscle gain.
- Face and neck: often the first place fat loss shows.
Back it up with numbers
Check the waist measurement and average bodyweight from the same weeks. If the photo looks better and your waist is smaller, you can trust it. Use the free before and after maker to put any two photos side by side.
FAQ
Frequently asked questions
Why can’t I see a difference in my progress photos?
Usually the photos are too close together or the setup changed. Compare photos 4–12 weeks apart taken in the same spot and light.
Should I compare to my very first photo?
Yes, sometimes. Week-to-week comparisons show momentum; first-to-latest shows the whole journey.