Progress photo poses that compare well
Three relaxed poses cover almost every goal. Flexed poses are optional and useful for muscle gain, as long as you repeat them exactly.
Short answer
Take three relaxed poses: front, side (one side, always the same) and back, standing tall with arms slightly away from your body. For muscle gain, add front and back double biceps as separate labels. Keep each pose identical every time.
The three relaxed poses
| Pose | How to stand | Shows |
|---|---|---|
| Front | Feet hip-width, toes forward, arms 10–15 cm from your sides, palms in, chin level | Waist width, hips, thighs, shoulders, arm size |
| Side | Turn 90° (always the same side), arms by your sides or slightly forward so they don’t cover your waist | Belly, posture, chest, glutes |
| Back | Turn 180°, same stance as the front, arms slightly out | Back width, love handles, glutes, hamstrings |
Breathe out normally and relax your stomach. Sucking in is the most common way people fool themselves.
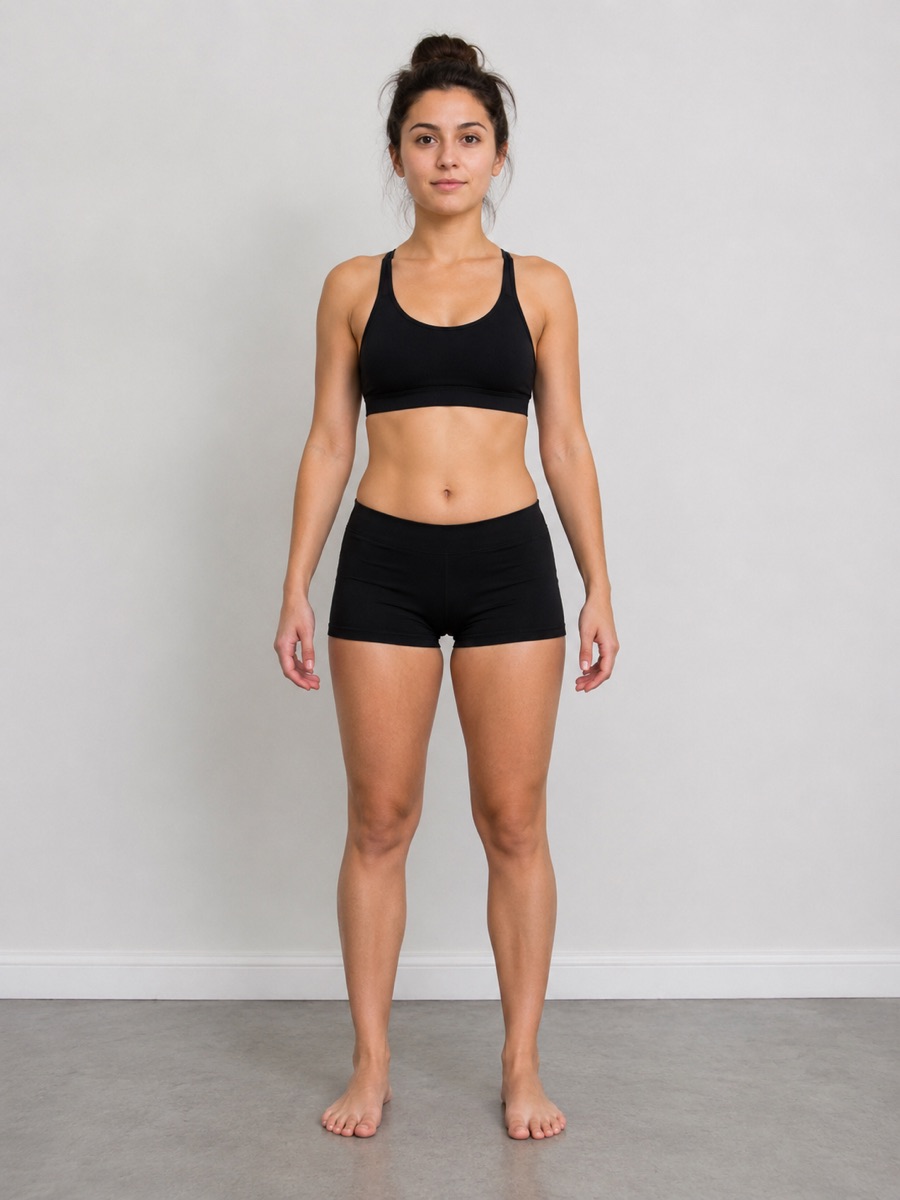
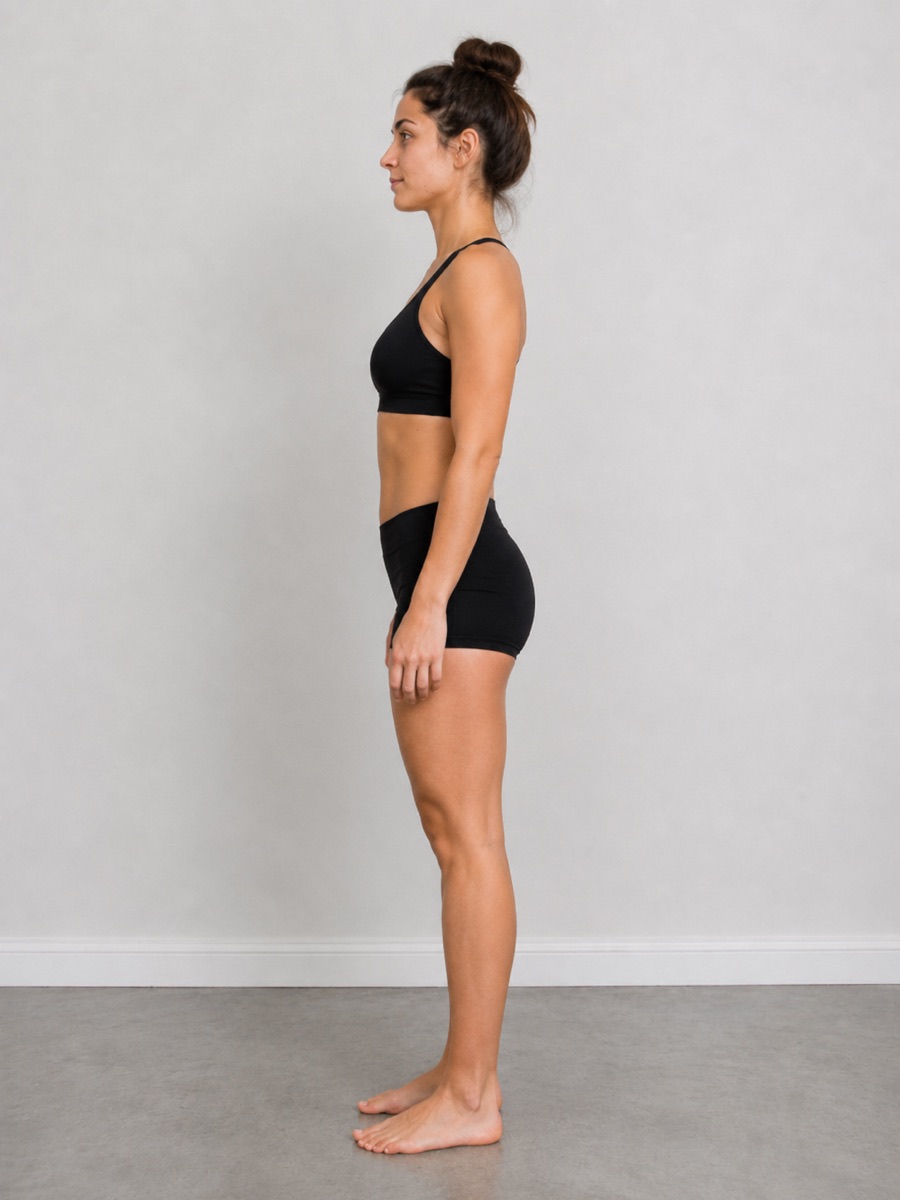
Front and side, relaxed. Illustrative example photos.
Optional flexed poses (gym progress)
- Front double biceps: arms up at 90°, elbows at shoulder height. Shows arms, shoulders, chest, abs.
- Back double biceps: same from behind. Shows back thickness and detail.
- Front lat spread or side chest: if you compete or follow a bodybuilding split.
- Legs: quads tensed, one foot slightly forward.
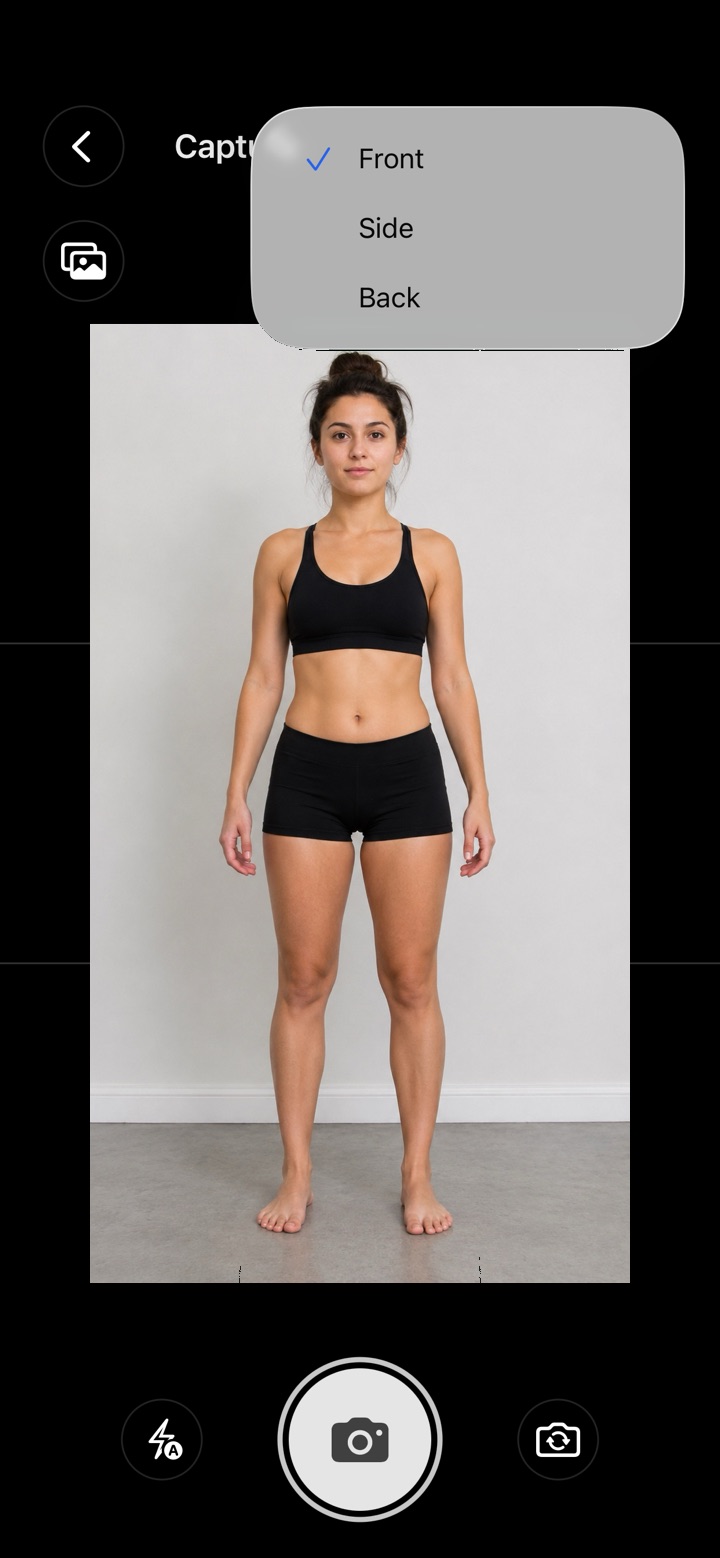
In ProgressLens, give each one its own custom label so the ghost overlay and comparisons stay separate from your relaxed shots.
Rules that keep poses comparable
- Same side for side photos, forever.
- Same arm position. Arms pressed to your sides make your waist look wider.
- Same head position: chin level, eyes on the camera.
- Same flex intensity, or don’t flex at all.
FAQ
Frequently asked questions
Should I flex in progress photos?
Take relaxed photos as your main record. Flexed poses are fine as an extra, with their own label, because flex intensity varies.
Which side should I photograph?
Either, but always the same one. Many people use their left side so their phone is on their right.
Do I need all three poses?
Front and side are the minimum. Back is the one people skip and later wish they hadn’t.